Intro
In this post we’ll dive deeper into how I designed my split keyboard layout.
I already discussed why I switched to a split keyboard in this other post.
I have a 6-column Corne split keyboard, with only 42 keys—21 keys per side. A common ISO laptop keyboard has 79 keys.
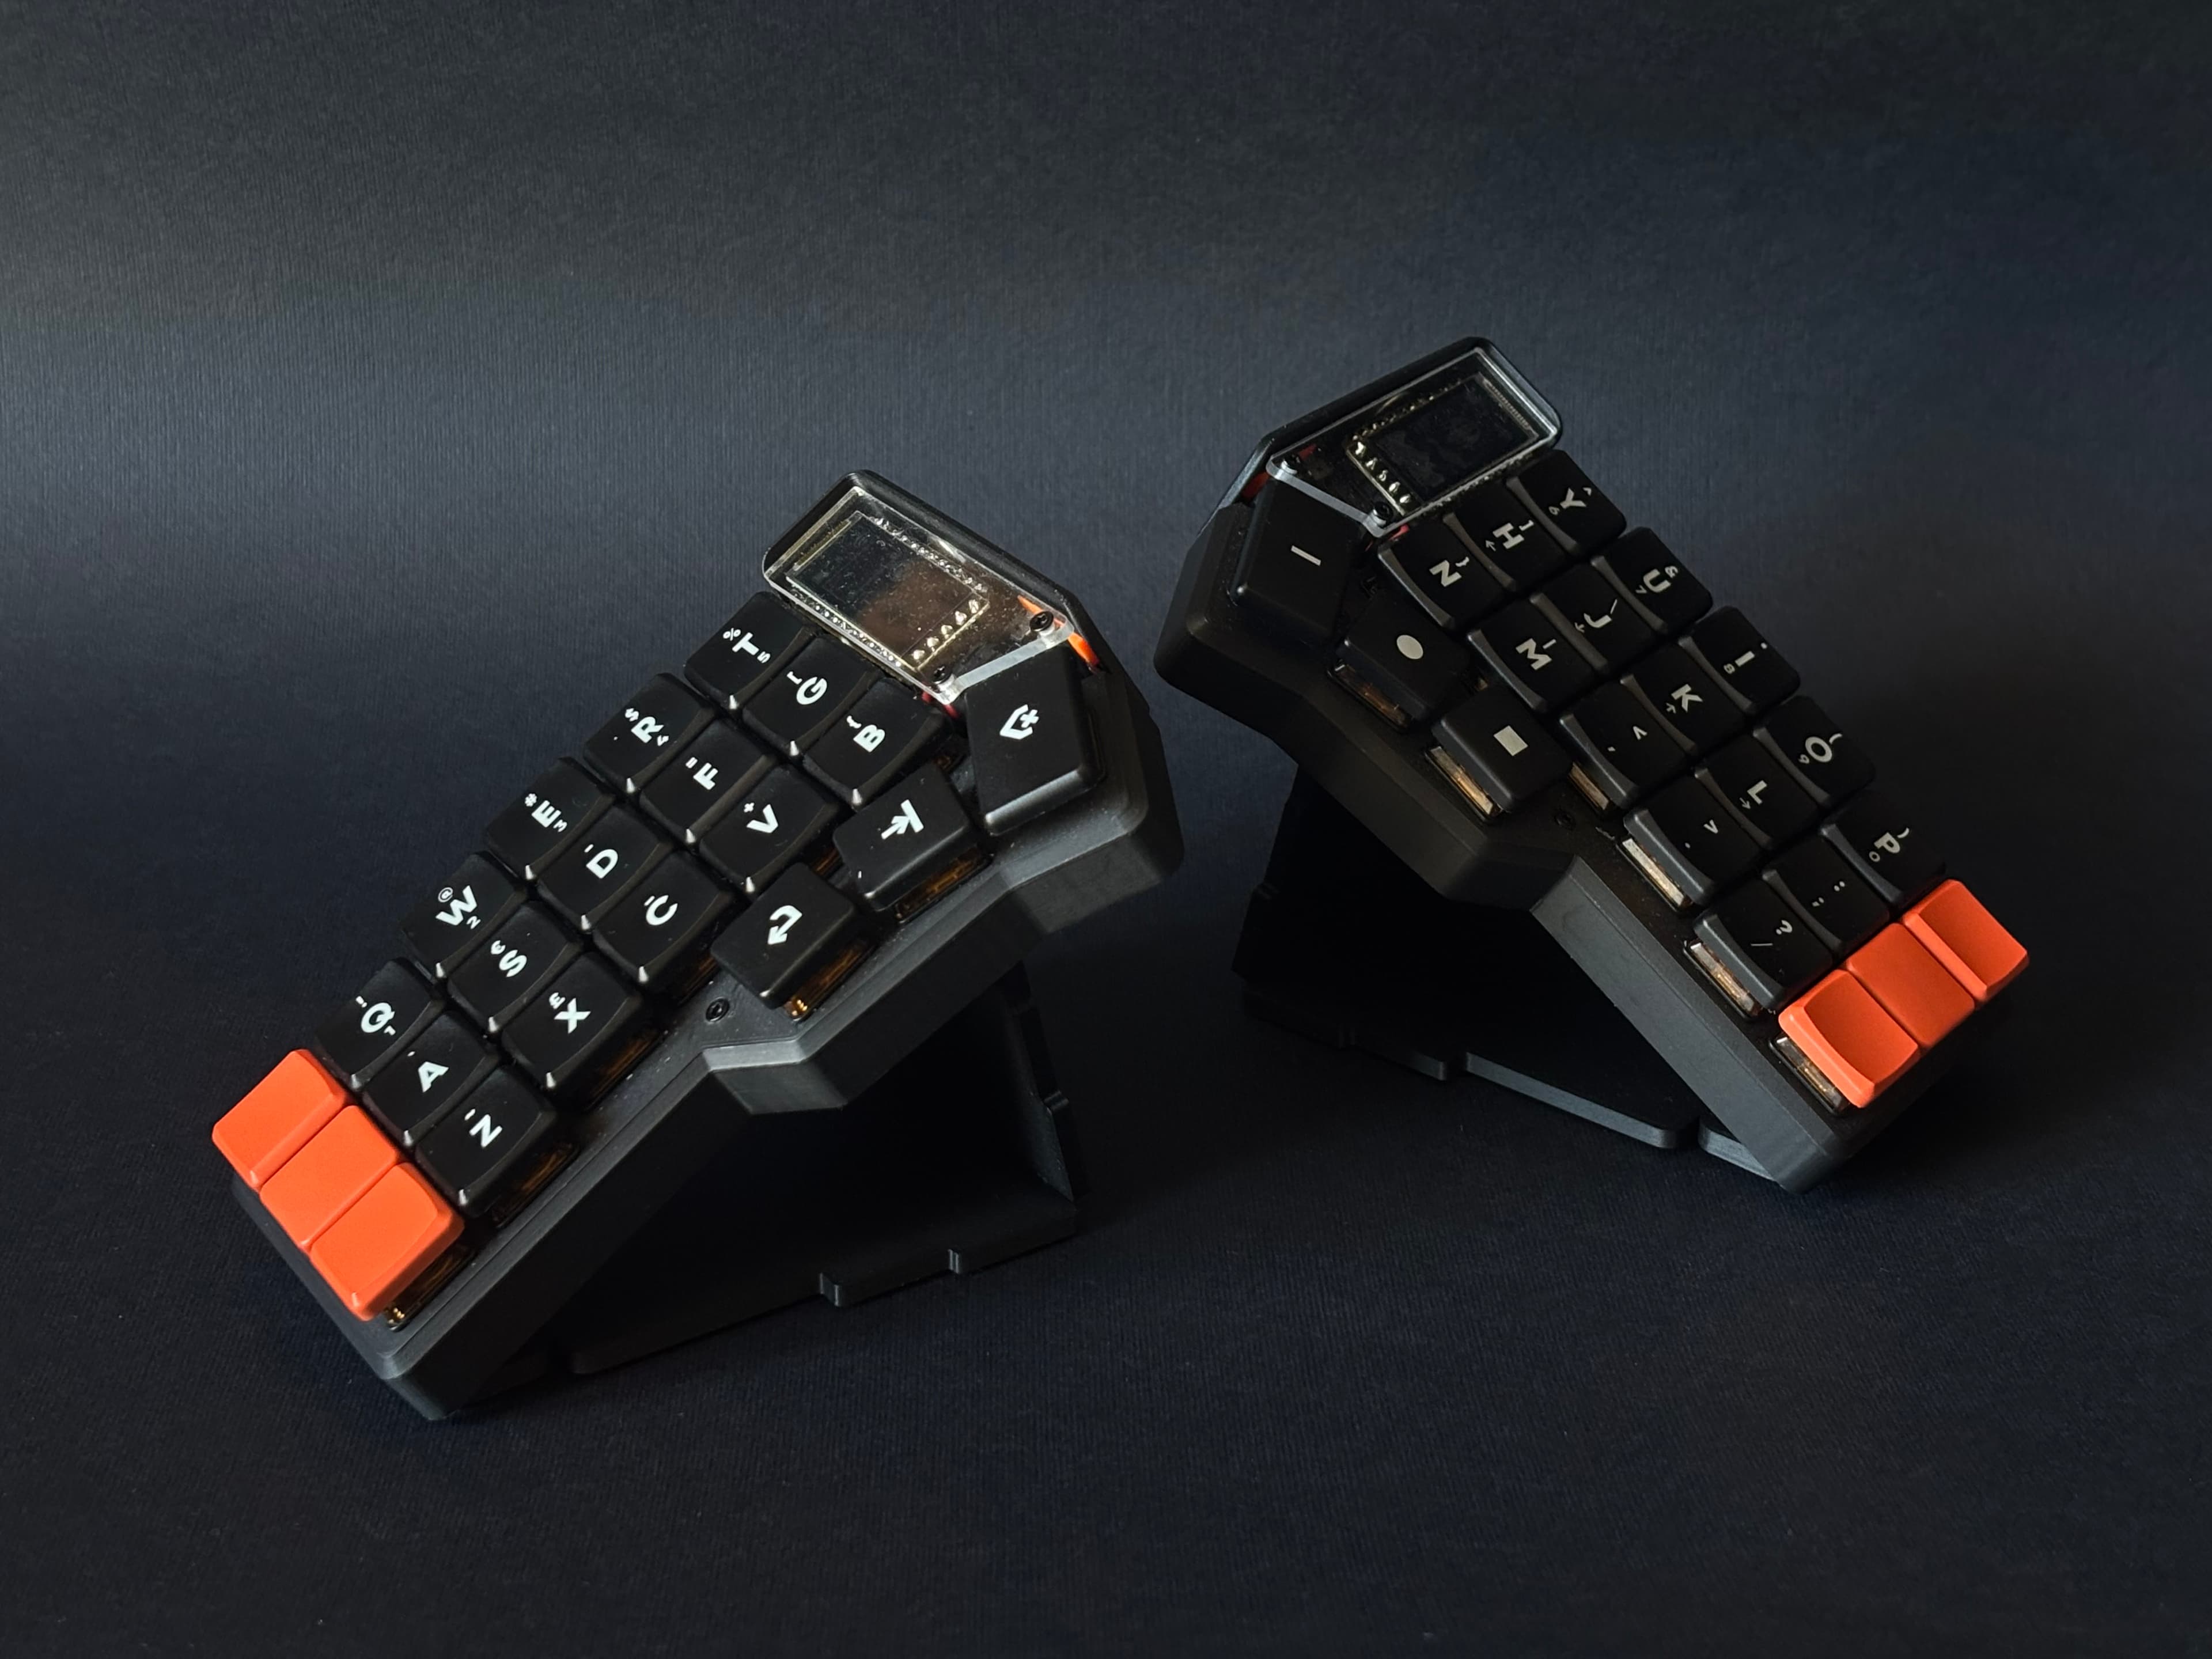
After a couple of years with this setup, I switched to a 5-column layout, with only 36 keys in total, which is all I need.
I designed this layout for my Corne, of course, but it could be easily modified to accommodate layouts of similar split keyboards.
In this blog post I’ll share both layouts. The 6-column layout is great if you’re just starting with smaller split keyboards.
Then, if you want your fingers to move even less, you can switch to the second layout (5-column).
Before doing that, if you are new to this world, let me quickly explain the concept of layers and mod-tap behavior, which we’ll encounter frequently in this blog post.
What Is a Layer?
When you hold the SHIFT key and then press a letter you’ll get that letter in uppercase. For example: SHIFT a is A.
By doing that you’ve activated the SHIFT modifier layer. In case of the SHIFT modifier, we can write upper-case letters or symbols when we type a number key (and many other alternative functionalities for other keys, actually).
In the custom keyboard world, we can create such layers with modifier keys we invent, not necessarily just SHIFT or COMMAND.
What Is the Mod/Tap Behavior?
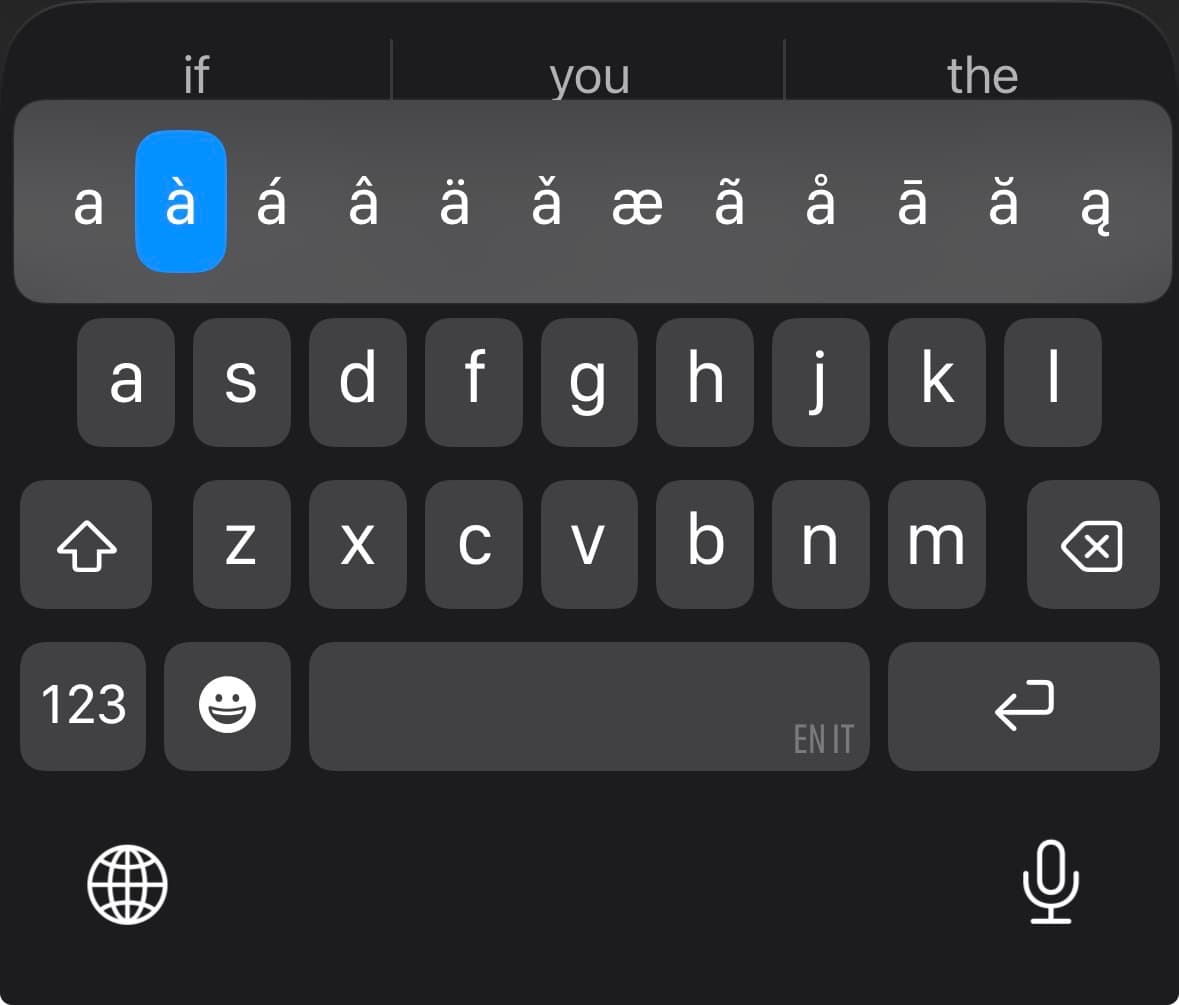
This is a functionality Apple users might be familiar with. If you keep a key pressed in macOS or iOS (not sure about Android), you get some extra options for the key you pressed.
For example, if I keep the a key pressed, I get all the variants for that letter.
In the custom keyboard world, we can customize this behavior as we see fit. For example, we could activate the SHIFT modifier when keeping the f key pressed. More on why we should do that later in the post.
Or maybe, when z is long-pressed, the COMMAND z functionality can be triggered.
In other words, we decide to make a specific key behave differently depending on how long we keep it pressed:
- Short key-press = basic functionality (tap)
- Long key-press = modded functionality (mod)
Legend
In case you get lost with the symbols in the following diagrams:

42 Keys Layout (6-Cols)

Download this 6-cols layout from my GitHub
This is a version of the key layout I find pretty easy to learn — at least it was for me!
The idea behind it is that you’ll have all the common key modifiers (SHIFT, COMMAND, ALT, CTRL) always accessible.
It also mimics the key positions of a laptop ISO keyboard keys. For example, symbols and numbers in the top row have the same layout. Thanks to this design, it will be much easier to switch to this layout if you are just beginning with custom layouts.
The cool thing about this layout is that I introduced some nice shortcuts. Each key in the base layer has a hold-tap modifier that triggers the COMMAND version. For example, if you long-press c, it is like pressing COMMAND c, which is the copy command. If you long-press COMMAND v, the paste command is executed…
In this way I’m able to access all the most basic commands with the tap (and hold) of a single key.
There are a few exceptions to this rule for some keys. For example, OPTION BACKSPACE (instead of COMMAND BACKSPACE) allows removing the whole word while long-pressing the key.
For the arrow placement, I used the very popular VIM layout. It takes some time to learn, though. If you are not into VIM, you can easily swap this with the layout you prefer.
Another cool thing I added in this version is the CAPS-LOCK behavior. If you double-tap the SHIFT key, you enable CAPS-LOCK, and it will be disabled after you press SPACE.
36-Keys Layout (5-Cols)

Download this 5-cols layout from my GitHub
In the 6-column version, a lot of space was used by modifier keys. Also, some modifier keys needed to be pressed with your pinkie, which is the weakest finger of the hand.
In this version, the CAPS-LOCK behavior is triggered if you press at the same time f and j, which are the keys that trigger SHIFT if long-pressed.
I kept the great things I designed for the 6-column version but introduced the concept of the home-row mod.
In short, the home-row is the row of keys where your fingers usually sit when in resting position — the one with f and j if you are using QUERTY.
With home-row mods you assign hold-tap behaviors to keys in this row.
For example:
If you long-pressf or j it is like pressing SHIFT; if you long-pressd ork it is like pressing COMMAND.
You can decide which key does what depending on the most frequent modifier you use. That usually goes to your index finger keys (f and j) since they are the strongest of the hand.
Bluetooth Settings
I also designed a convenient way to access less frequent functionalities, such as the Bluetooth settings.
On my keyboard I can register up to five devices, and the way to manage those is to press the pink circle key and the yellow square key at the same time. Then, you can press the letter Q (which is also the key for number 1) to switch to device 1. If you press the key for 0 (zero), which is P, you then clear the currently selected Bluetooth device.